
In this post, I would like to show you a very easy way to decorate and personalize a frame.
I like experimenting with new techniques and this is what came up when I decided to combine acrylic paint, a rubber stamp and a frame. This project was a part of the 'Thank you' gift for my yoga teacher, with which I started my blogging experience. If you are curious to read, simply scroll down and you will see it - post Number One.
I wanted to have similar elements at the picture frame and the card, that is why I used the same rubber stamp and white acrylic paint.
 |
| Similar patterns |
Although, the rubber stamp contained detailed instructions with what brand of ink I SHOULD be using it, I did not follow the instructions. I am not a big fan of branding instructions and with experience in marketing, I really really know what's the catch all about. So, I tried my own technique. And it did work!
But, please do not accept that as an anti-branding propaganda, I just think that sometimes it's nice to try something else or new, though I need to admit, I have ruined projects by not following the instructions. Ops! (an ashamed face emoticon would be an appropriate one right now :) ).
Well, well, anyway - this project succeeded nicely and was very easy to make. And it is wonderful! It just brings such a nice personal detail to a frame.
 |
| Needed materials for decorating a frame |
rubber stamp
white acrylic paint
a brush to lay the paint on
Why acrylic paint?
Well, due to its properties, acrylic paint dries fast and you can achieve a nice relief of the service. Usually acrylic paint does not washes away easily with water, so it is perfect for purposes like this one.
 |
| Applying paint on the rubber stamp |
Apply the paint over the rubber stamp, making sure that there is not excessive amount of paint on the stamp. Too much paint will smudge the image, too little will make it look pale. I would recommend you to try stamping few times on a separate piece of paper beforehand, so you can get a grip of the amount of paint you need to use.
 |
| Applying pressure |
Once you have mastered the technique, just bravely stamp over the frame. Apply pressure and wait for 15-20 secs before you separate the stamp from the frame. Leave the paint to dry as much as it needs - that usually depends on the amount of paint you have applied. If you are in a hurry, you can help the drying process with a hairdryer, but do not use it for cards. And I would really recommend to leave a day until you can use the frame for the necessary purpose.
And this is it! You are ready!
 |
| The frame ready for adding a painting |
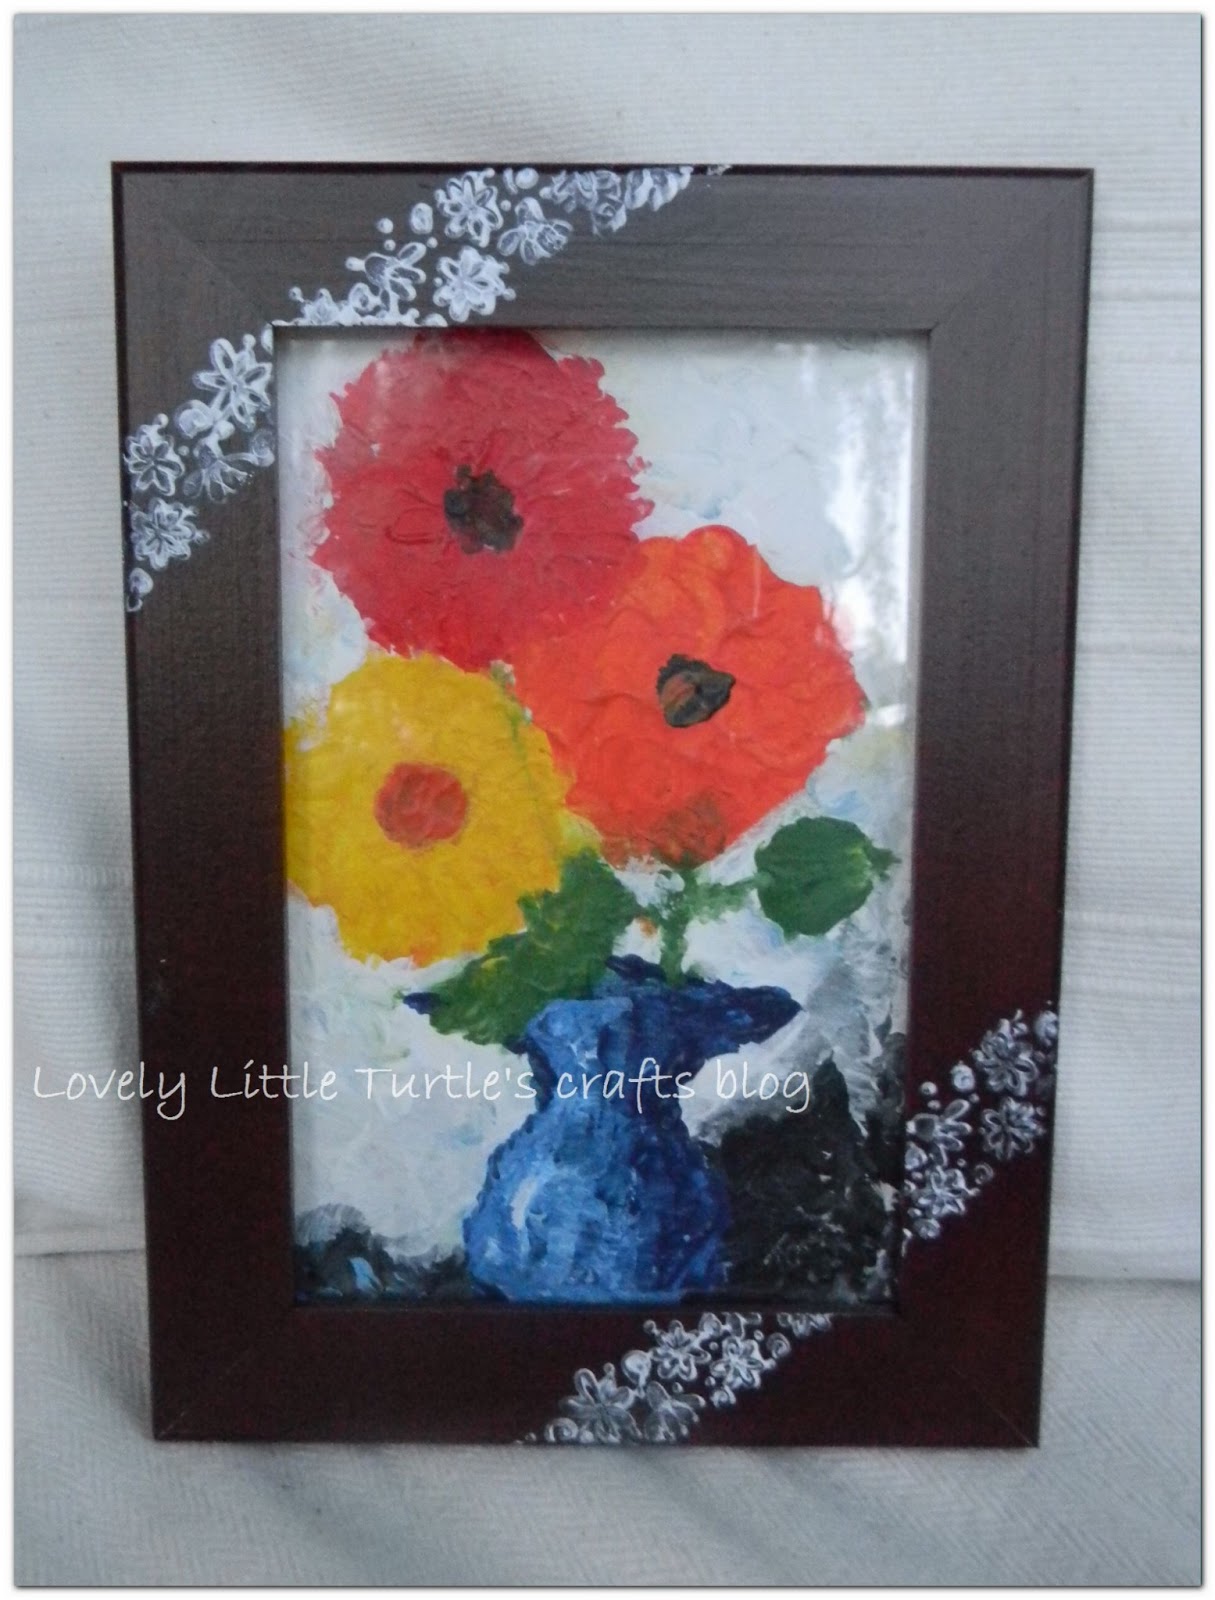
Add your picture, painting, photo, fabric, whatever you like.... For my yoga teacher, I also painted this picture of flowers. I used to like painting when I was a child, and decided to reconnect with that hobby of mine.
 |
| Easy and lovely hand decorated picture frame |
It's easy and the result is wonderful!
P.S. I made the explanatory images with another wooden frame, as you probably see, but today when I wanted to up-date the blog, I realized that I haven't taken these pictures, when I decorating the frame. And the frame is already with my yoga teacher.
No comments:
Post a Comment